DIY Wall Art Hanging Guide
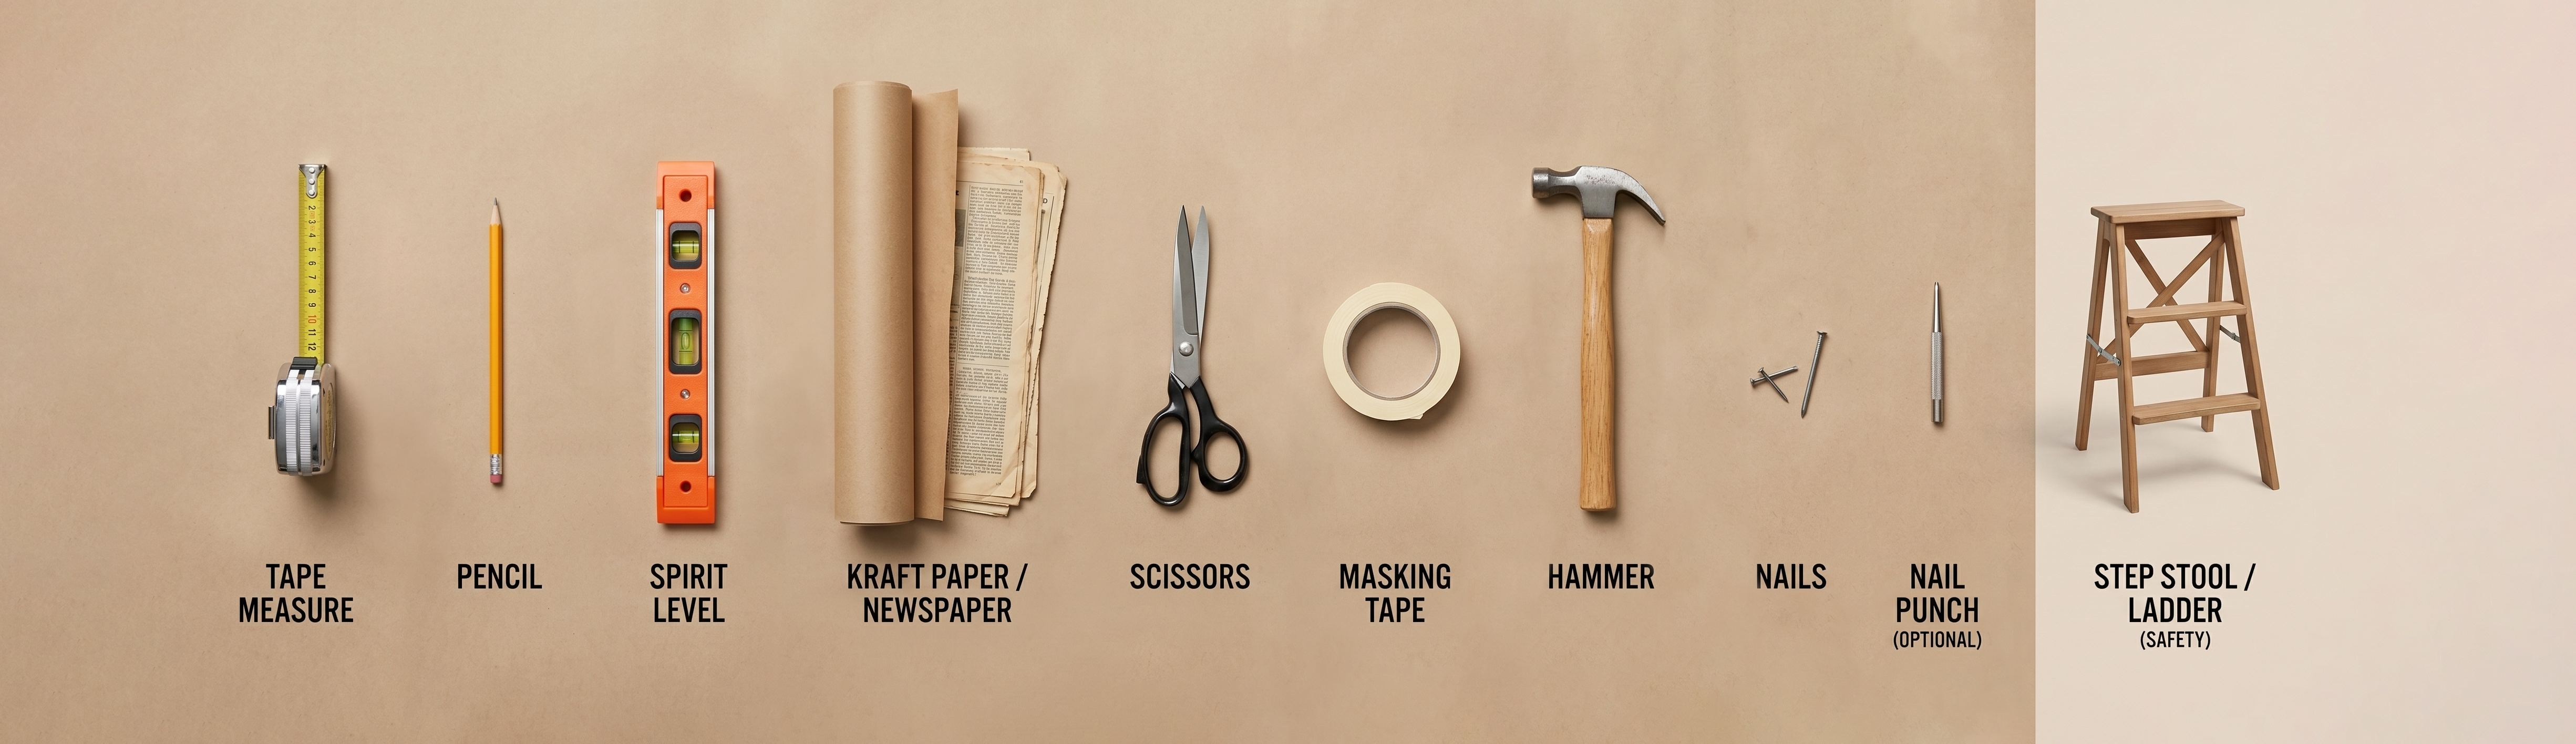
Your Step-By-Step Guide To Hanging Art
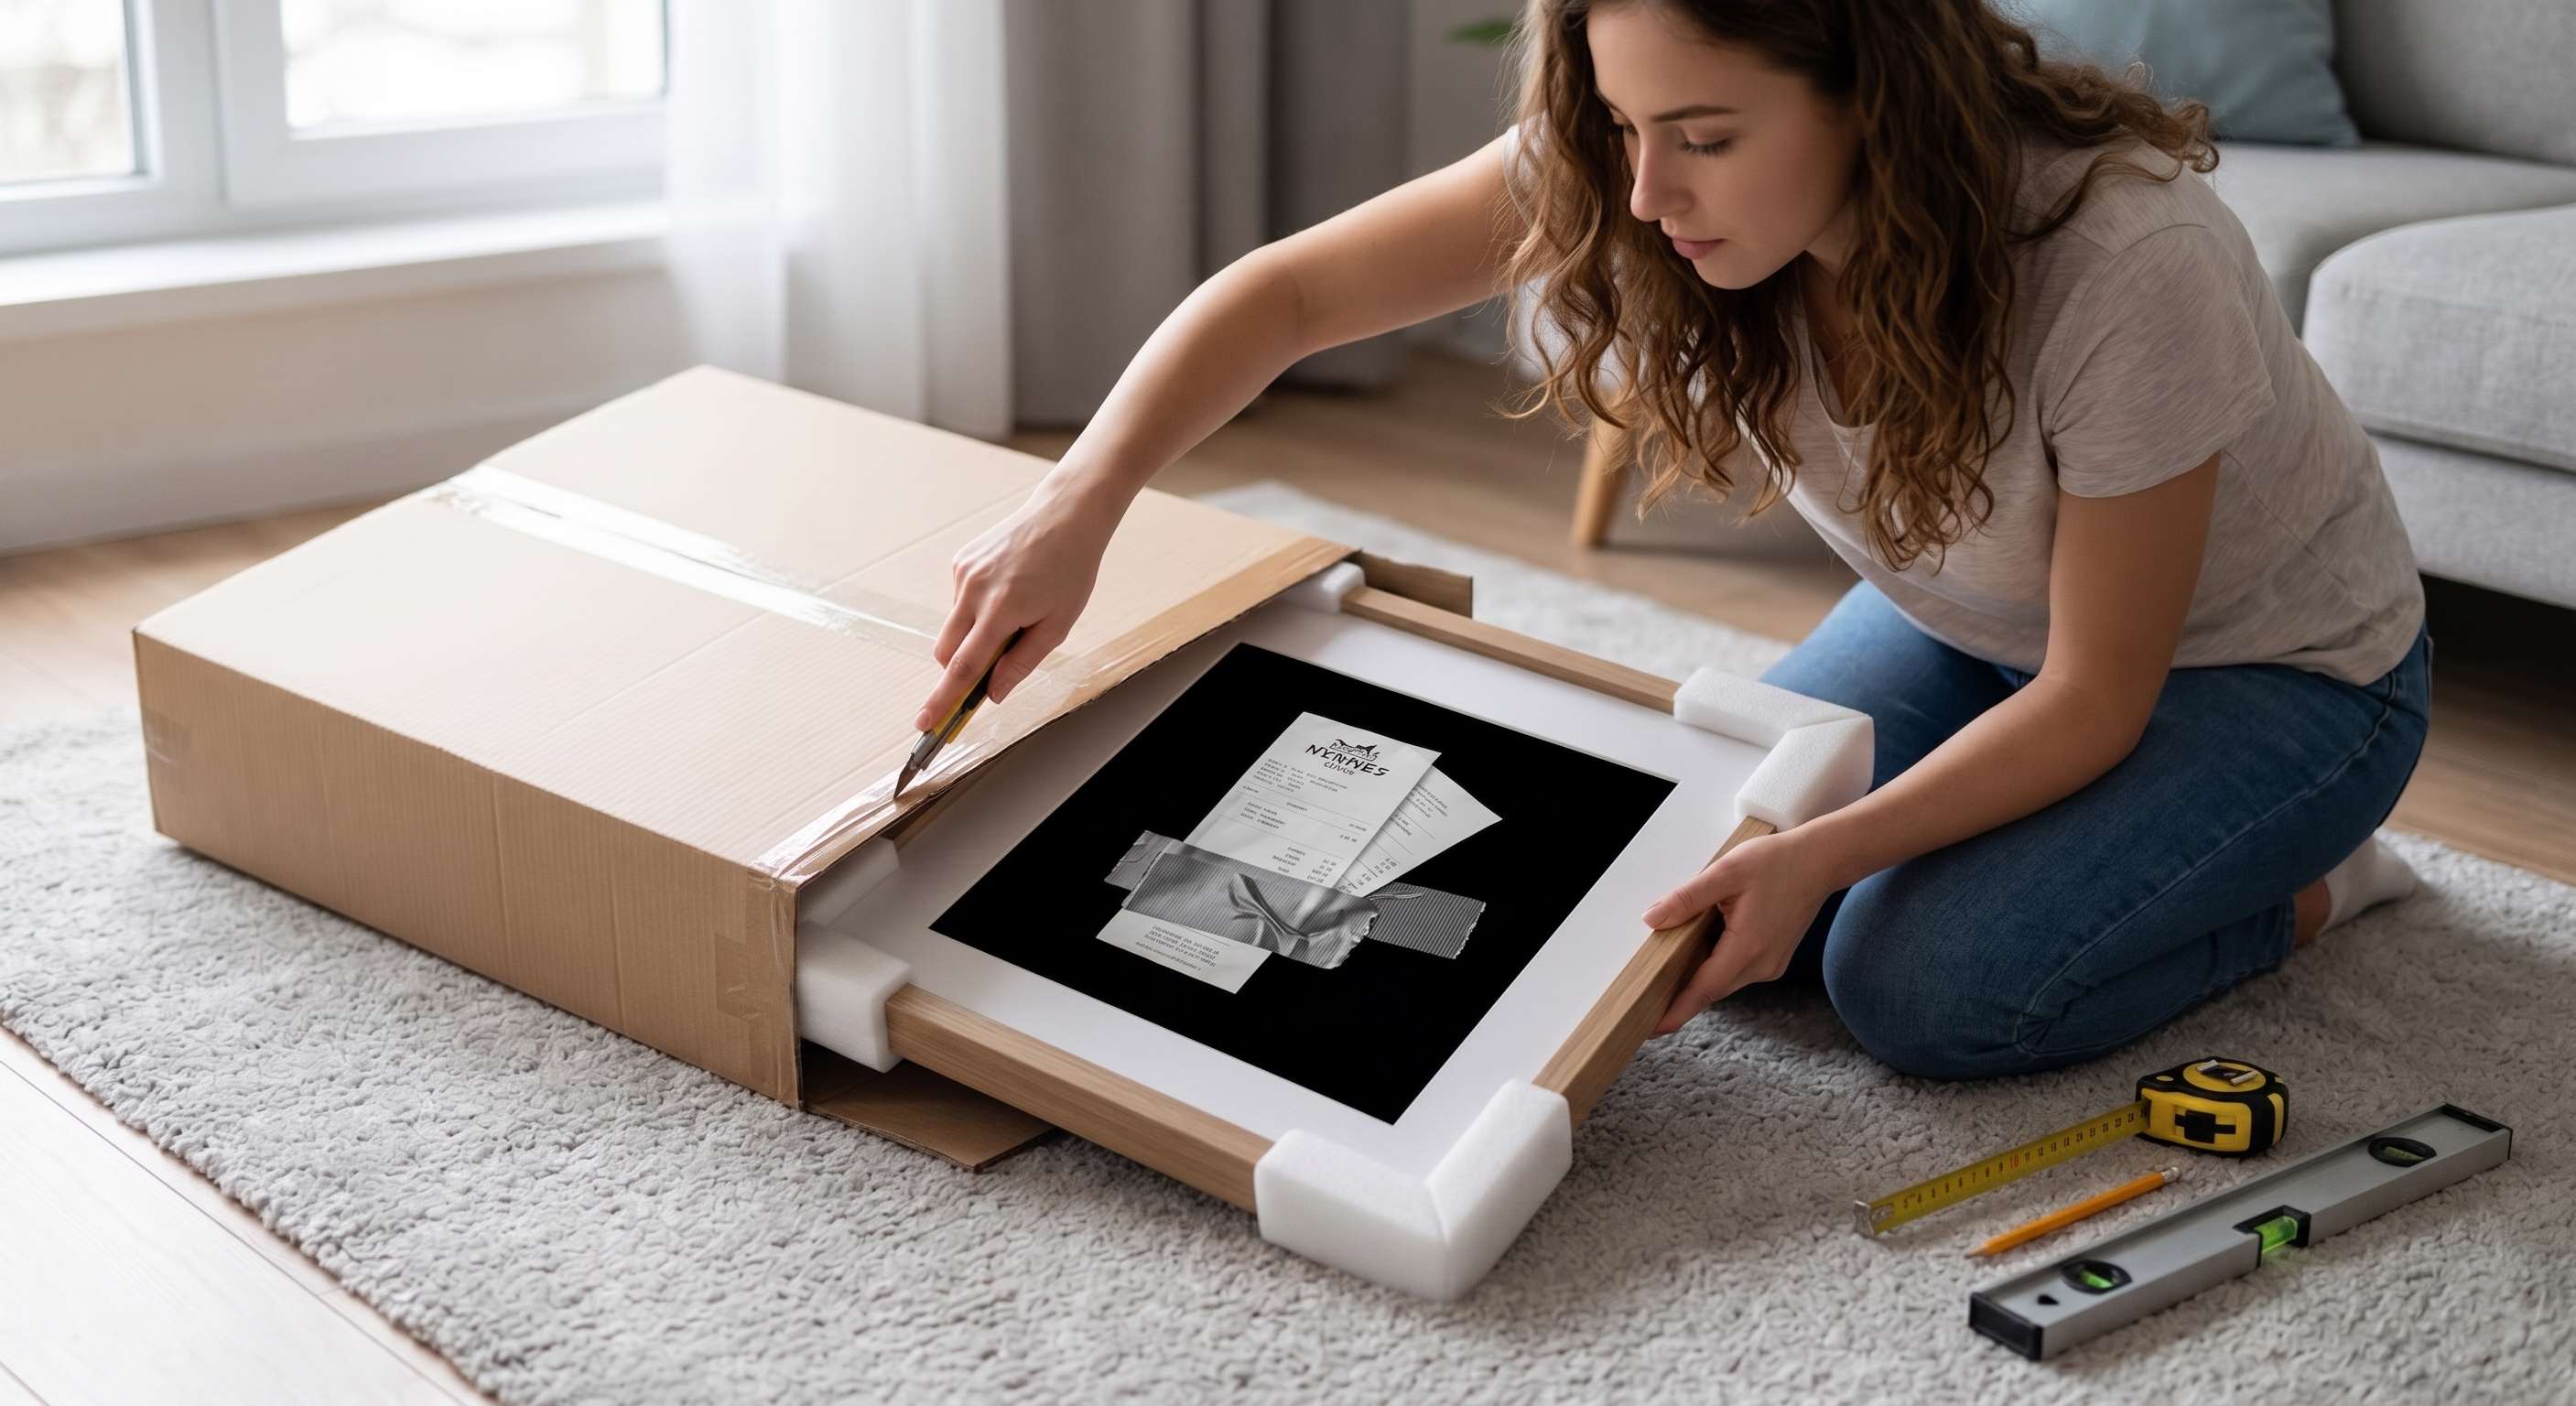
Step 1 — Unbox & Inspect
Carefully cut the packaging tape and slide the frame out. Remove all protective foam and wrap. Inspect the frame. Lay it face-down on a soft surface (like the cardboard box) and locate the hanging hardware on the back — this could be a D-ring, sawtooth bracket, wire, or keyhole slot. Note exactly where it sits on the back of the frame. This point is what your nail must align with.
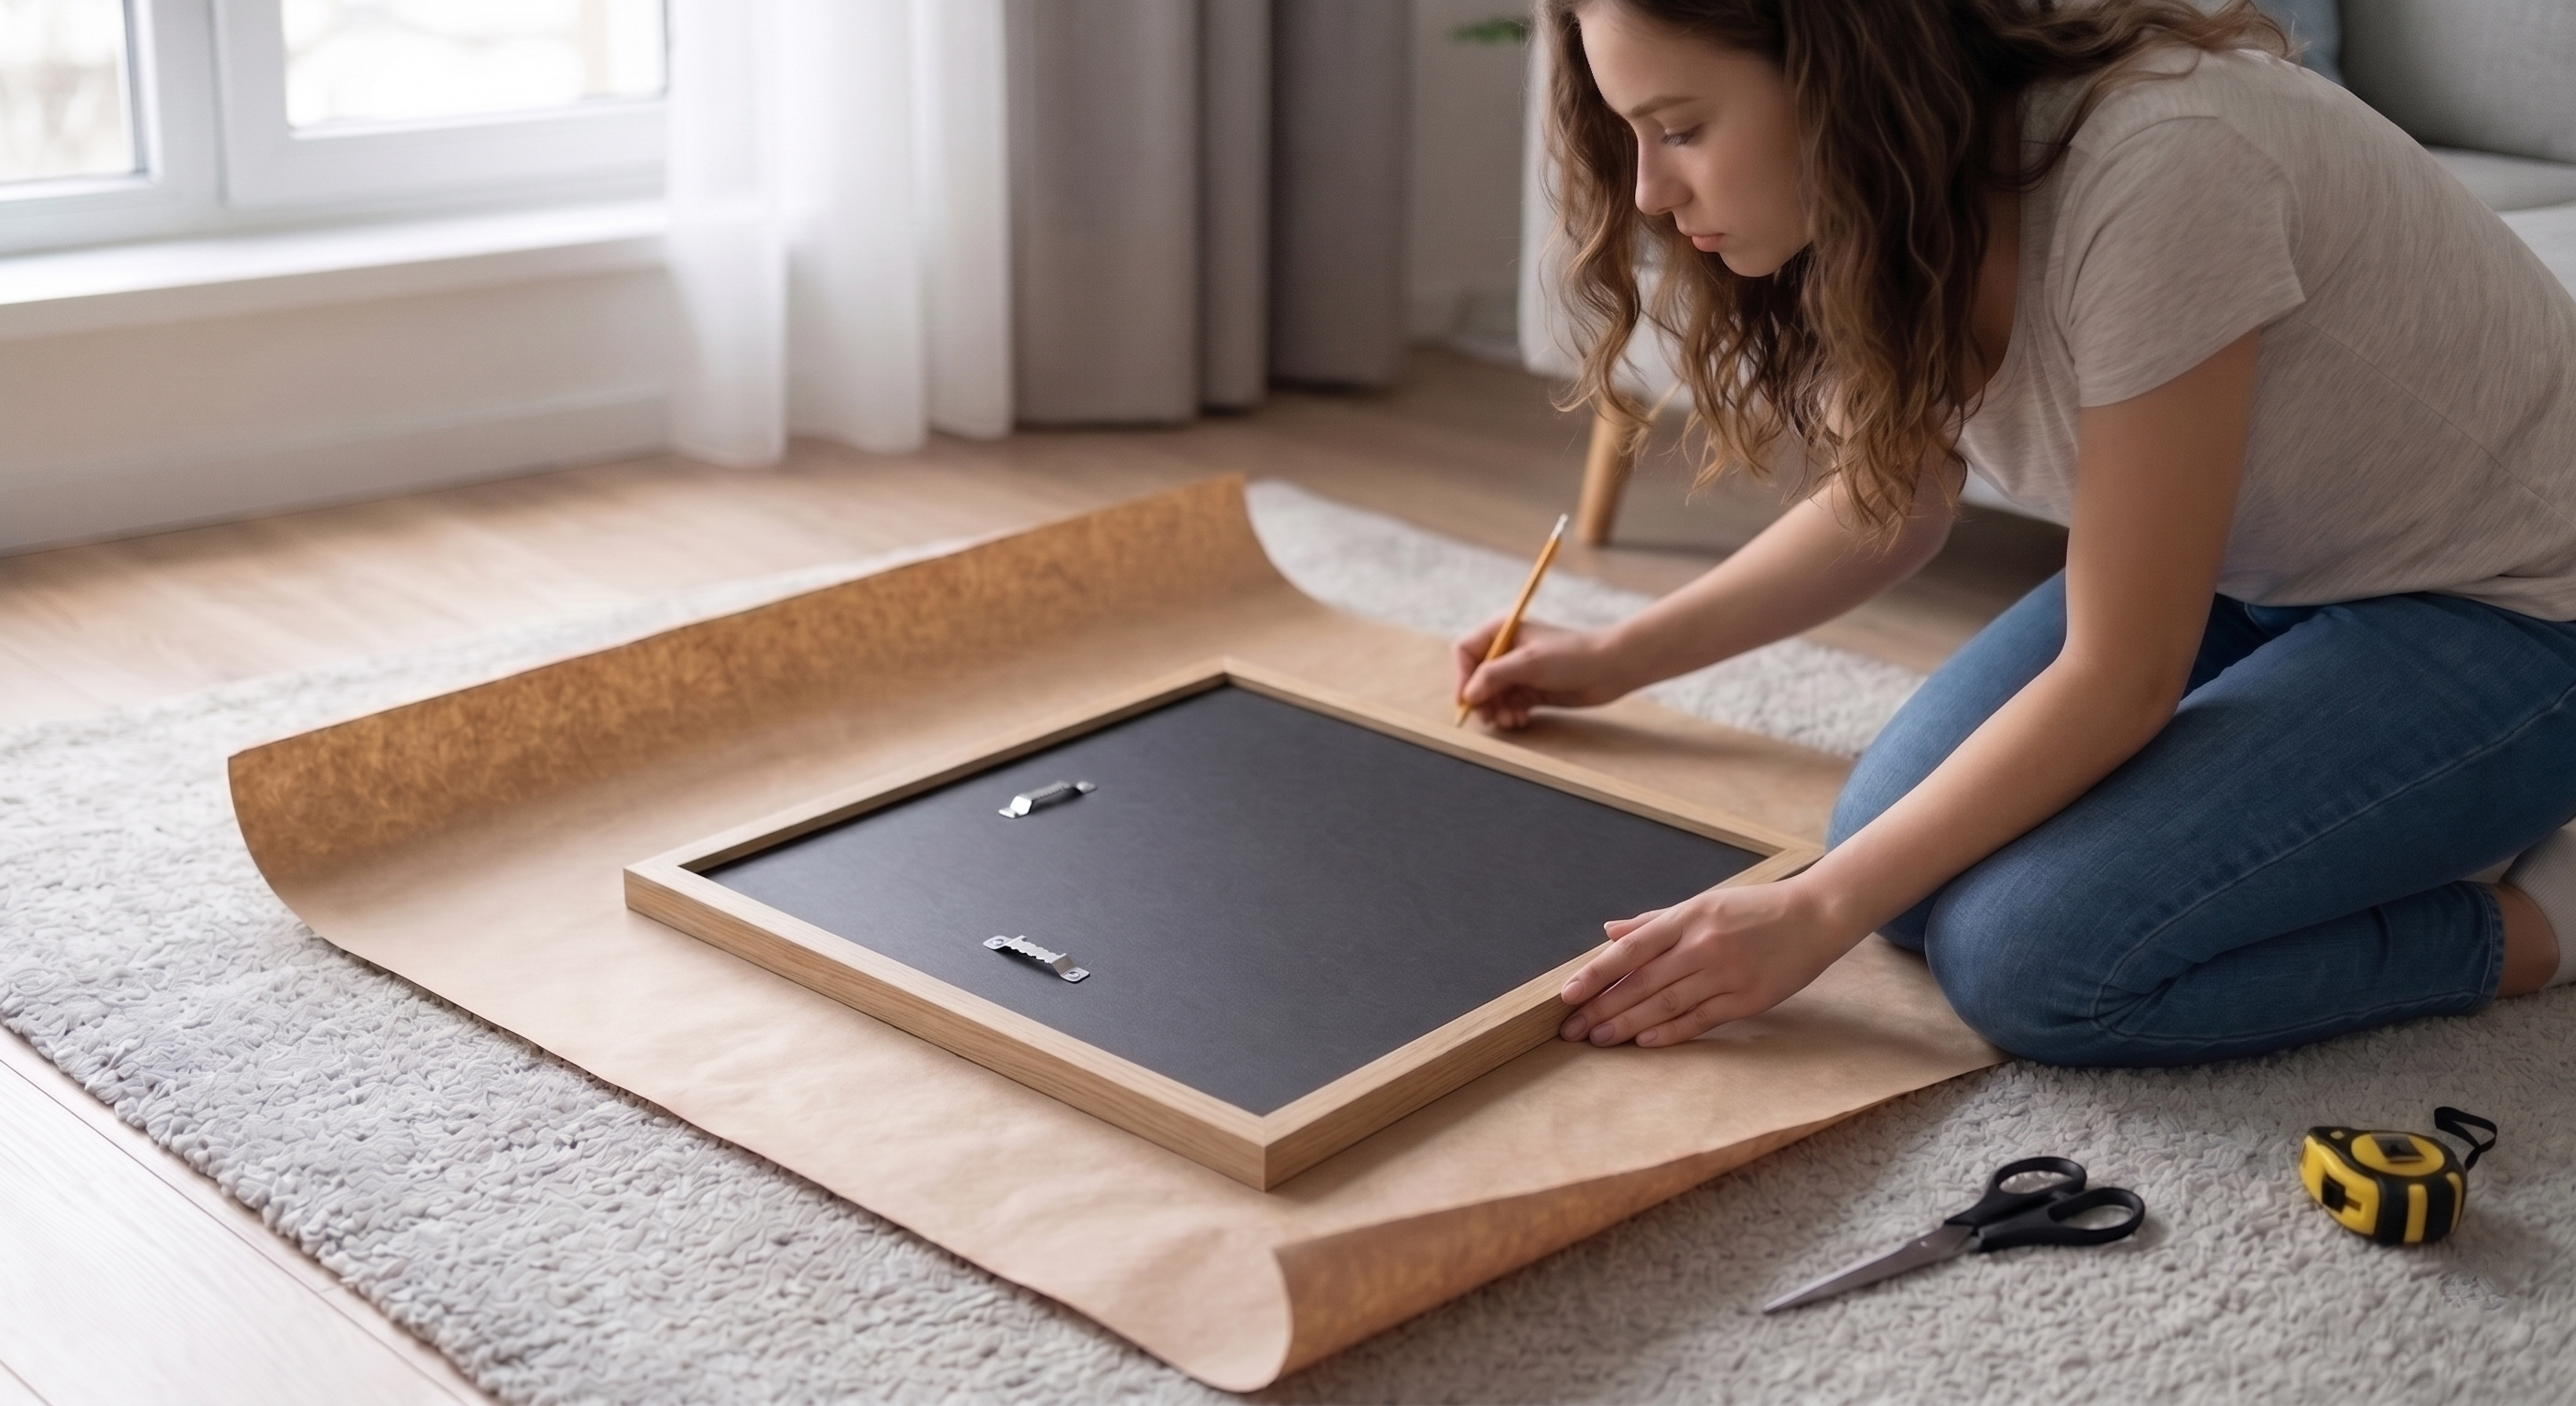
Step 2 — Cut Your Paper Template
Lay your kraft paper or newspaper flat. Place the frame face down on top of it and trace around the full outer edge with a pencil. Cut along the traced line so you have a paper cutout that is the exact same size and shape as the frame.
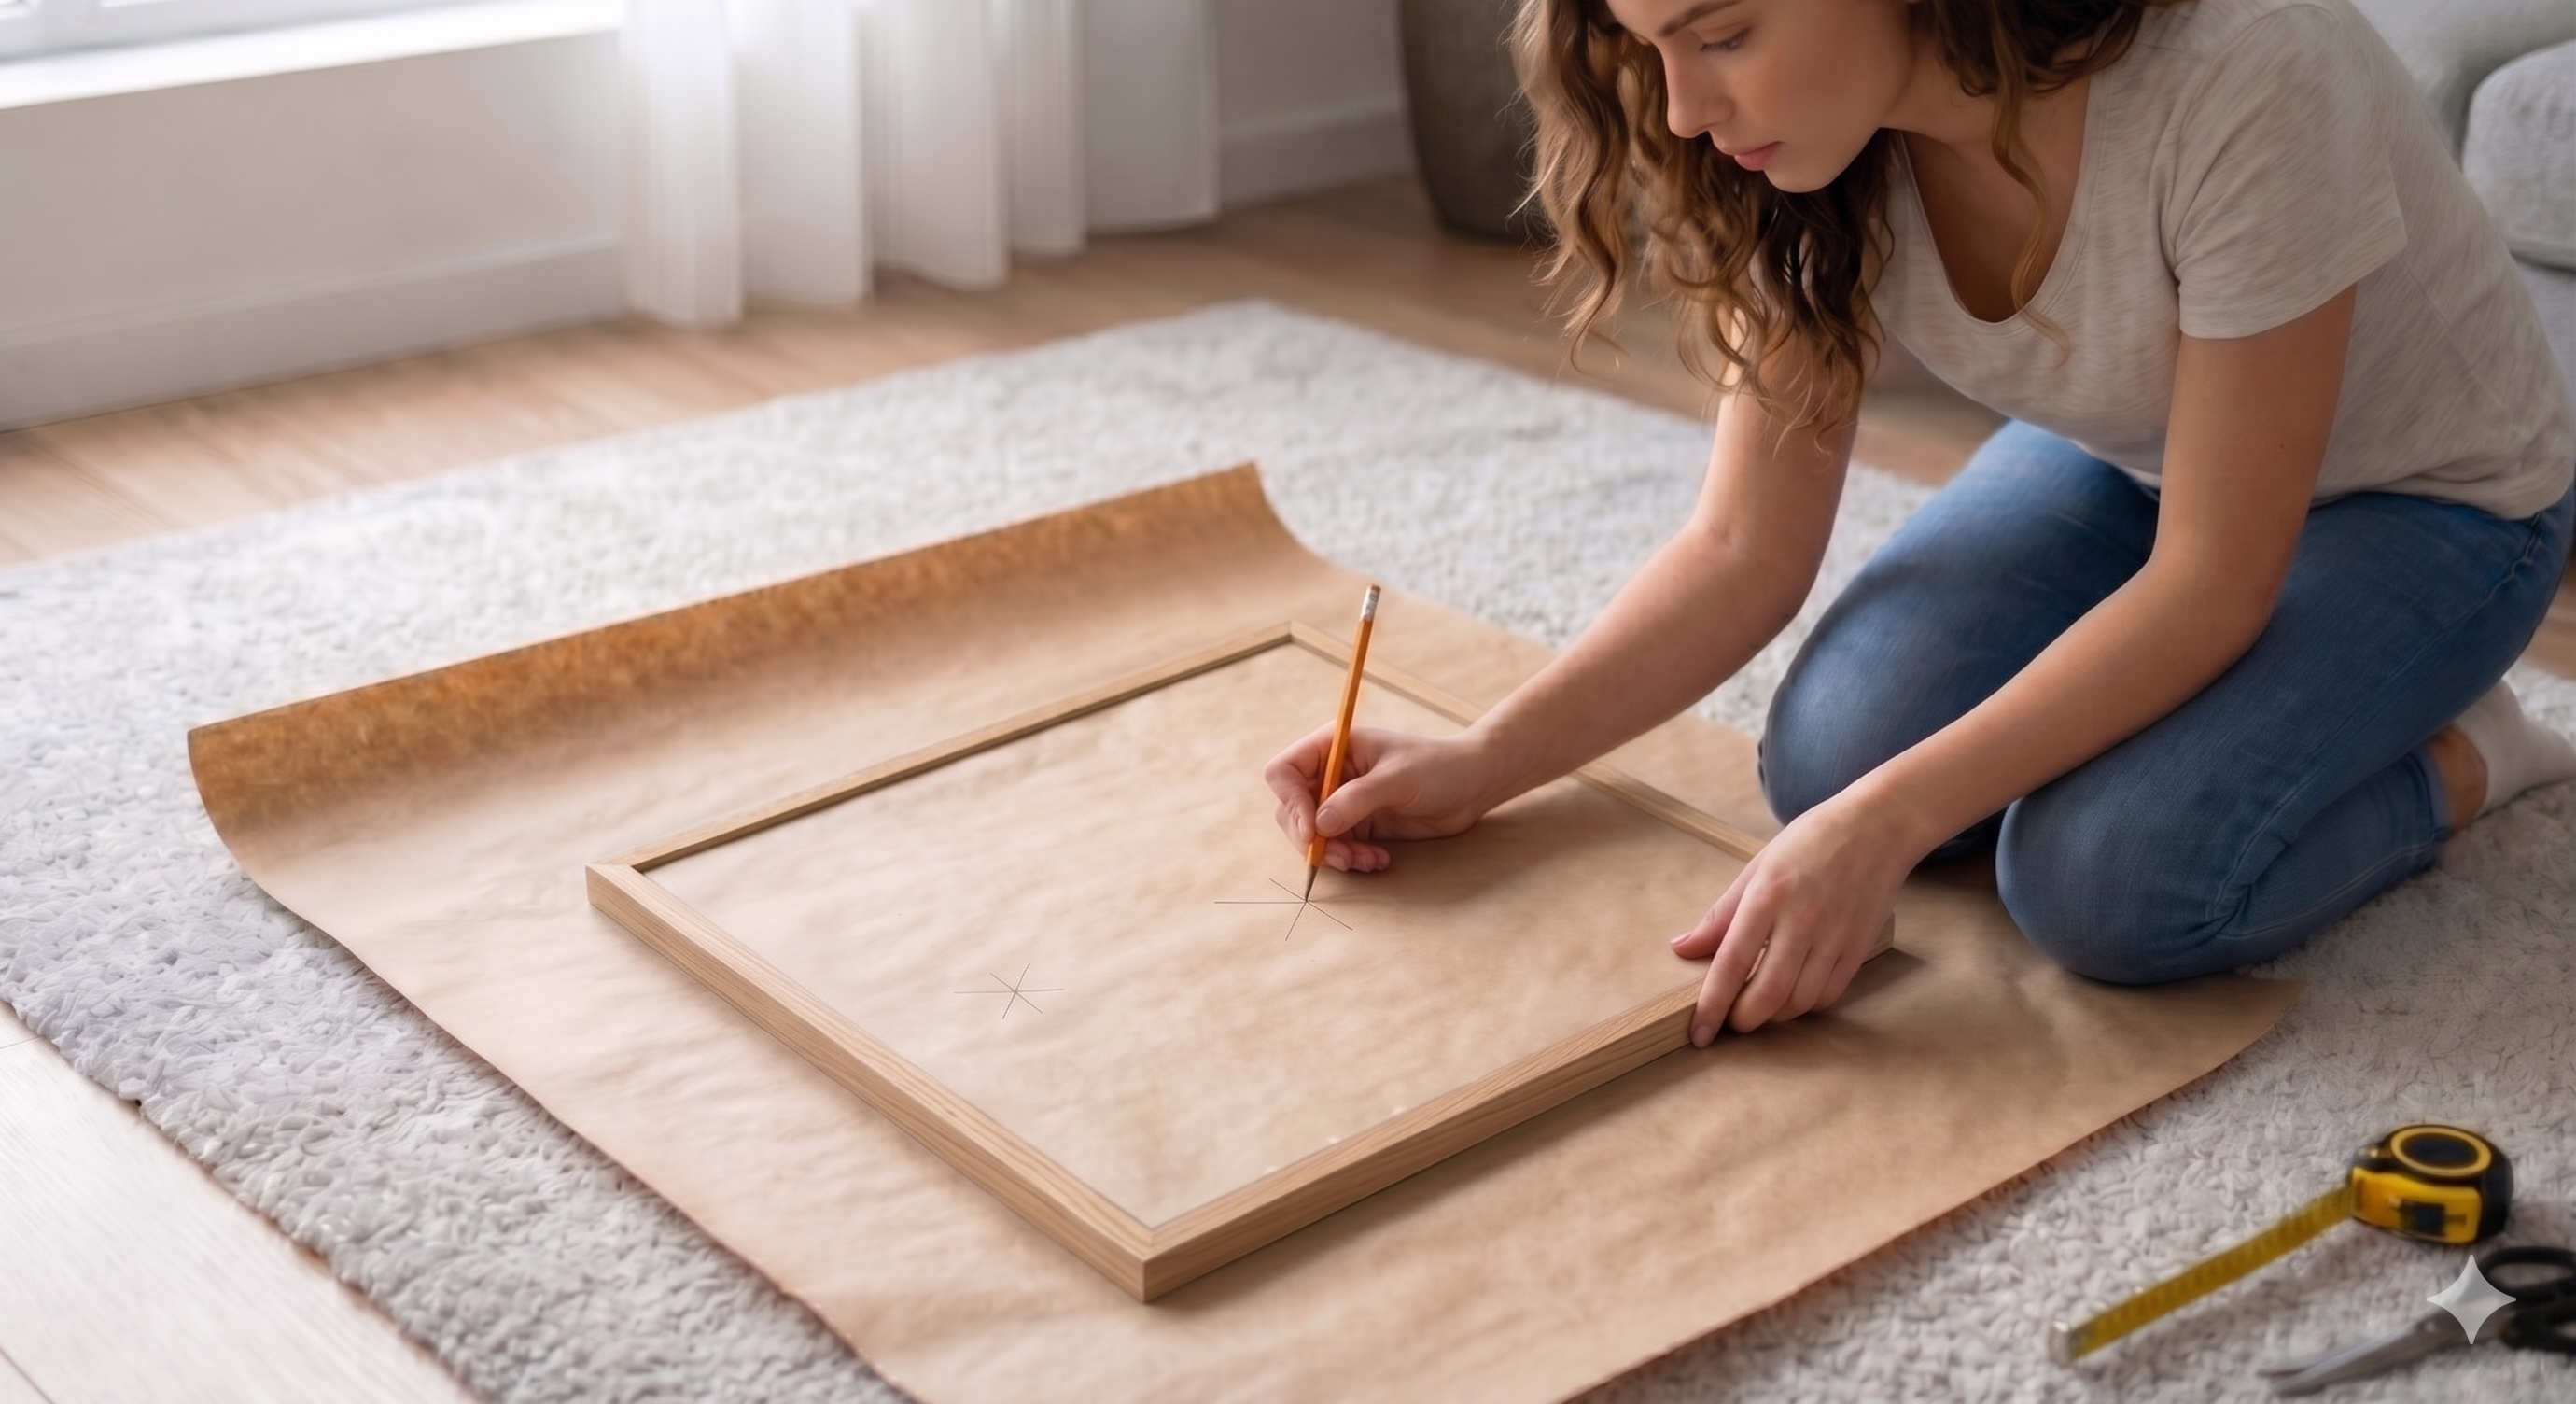
Step 3 — Mark the Hanger Position on the Paper
With the frame still face down, position the paper template over the back of the frame, aligning all edges perfectly. Using your pencil, press through or mark the exact spot(s) where the hanging hardware sits — D-ring, wire midpoint, or sawtooth centre. Poke a small hole or make a clear X mark on the paper at that spot. This is your nail target point.
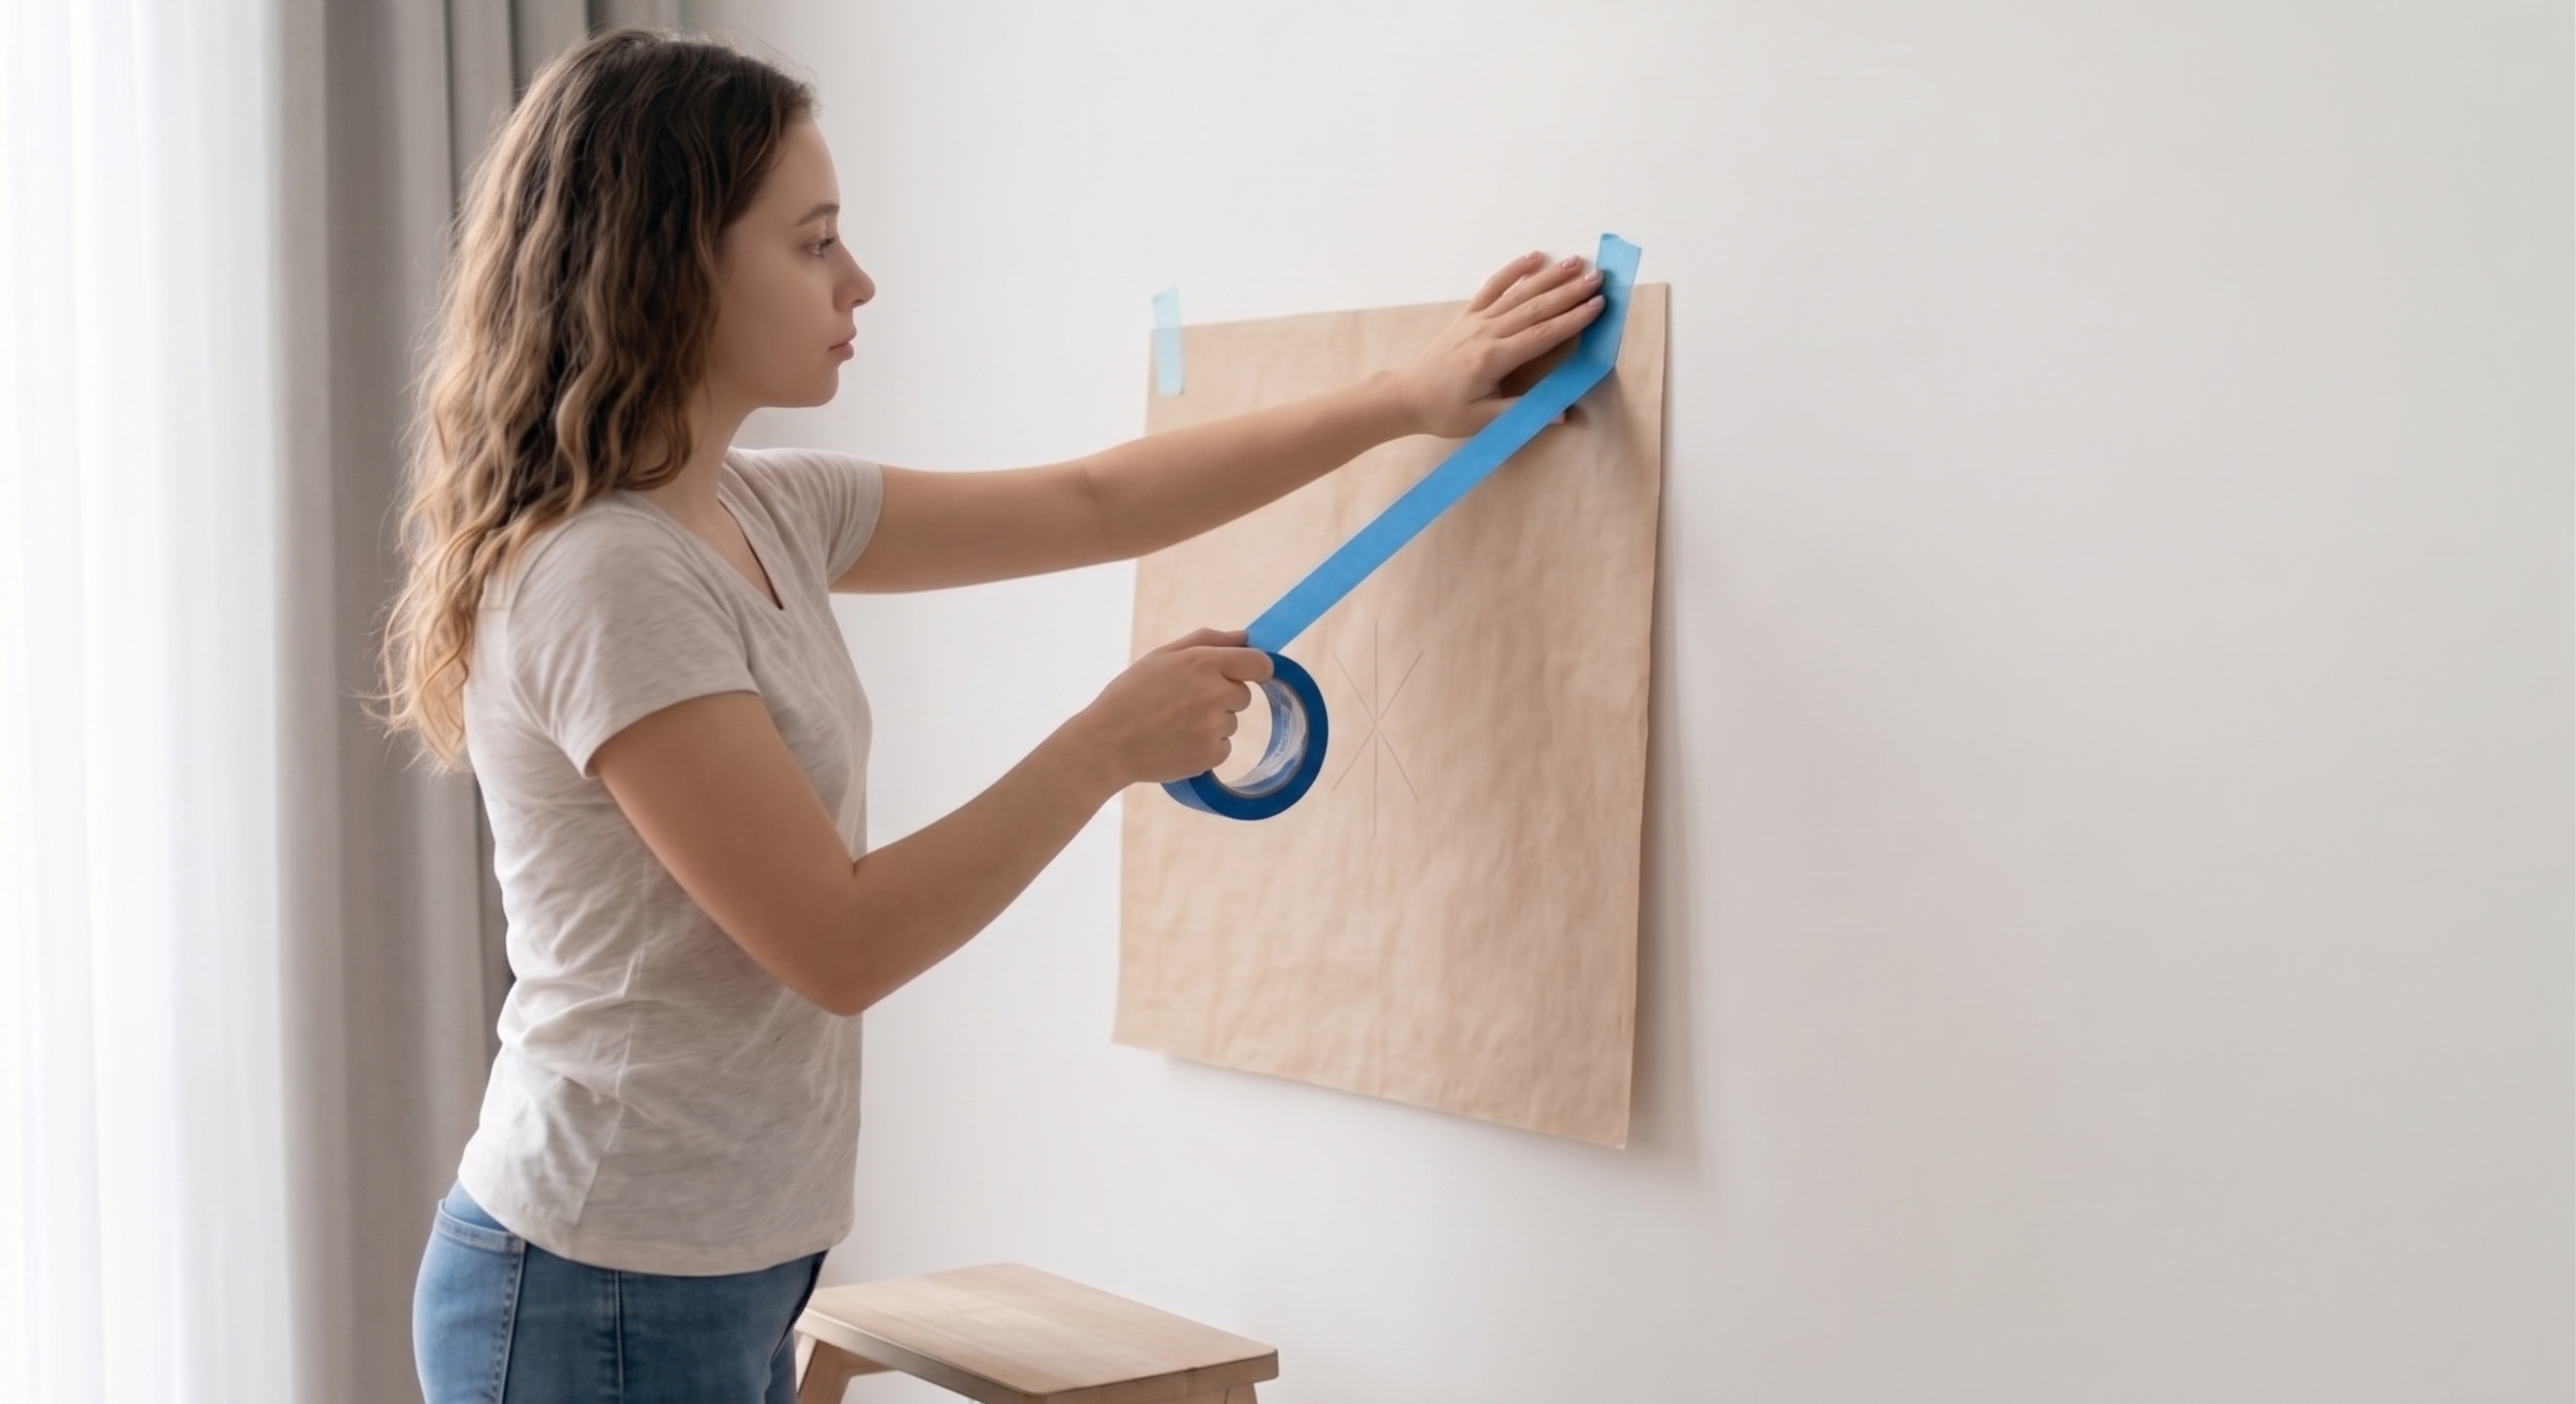
Step 4 — Position the Template on the Wall
Decide where on the wall you want the artwork. Hold the paper template up against the wall and use your spirit level to ensure it's perfectly horizontal. Once happy with the position and height, secure the template firmly to the wall using masking tape on all four corners. The tape should hold it flat with zero movement.
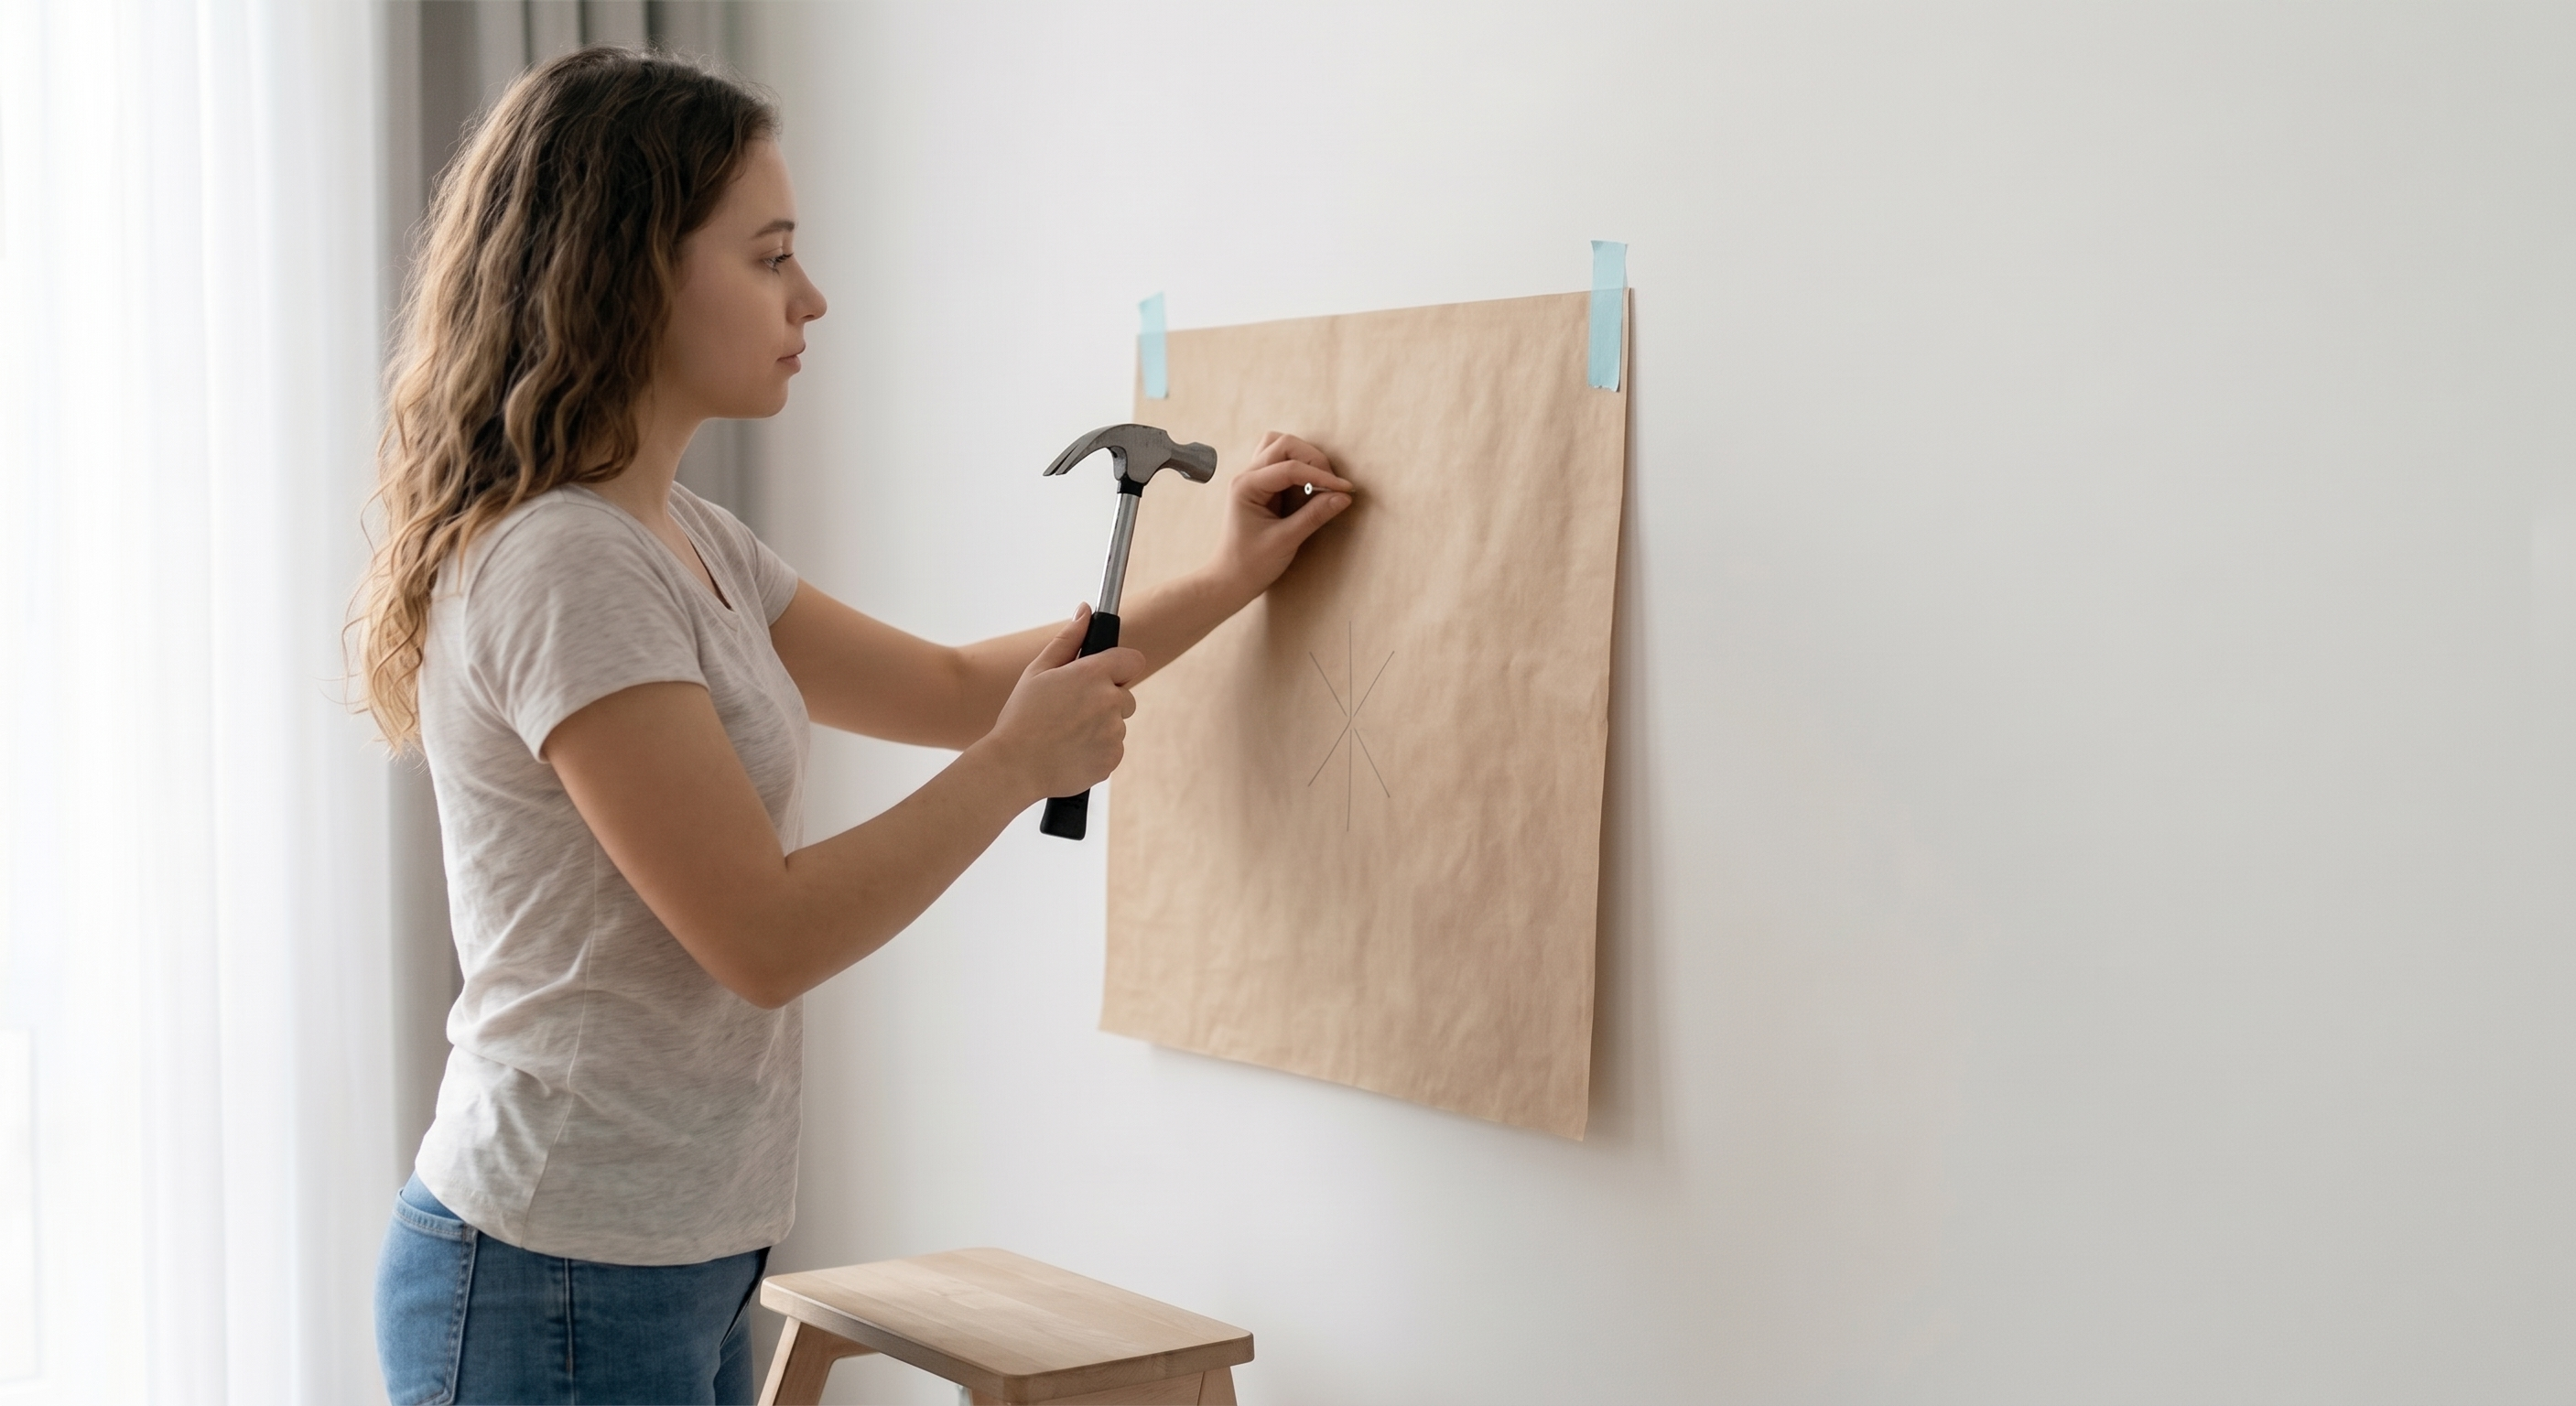
Step 5 — Drive the Nail
Using your hammer, drive the nail through the paper at the marked X or hole — directly into the wall. Go in at a slight upward angle (about 45°) for a stronger hold. Drive it in until roughly 1–1.5cm of the nail remains sticking out — enough for the frame hardware to sit on securely.
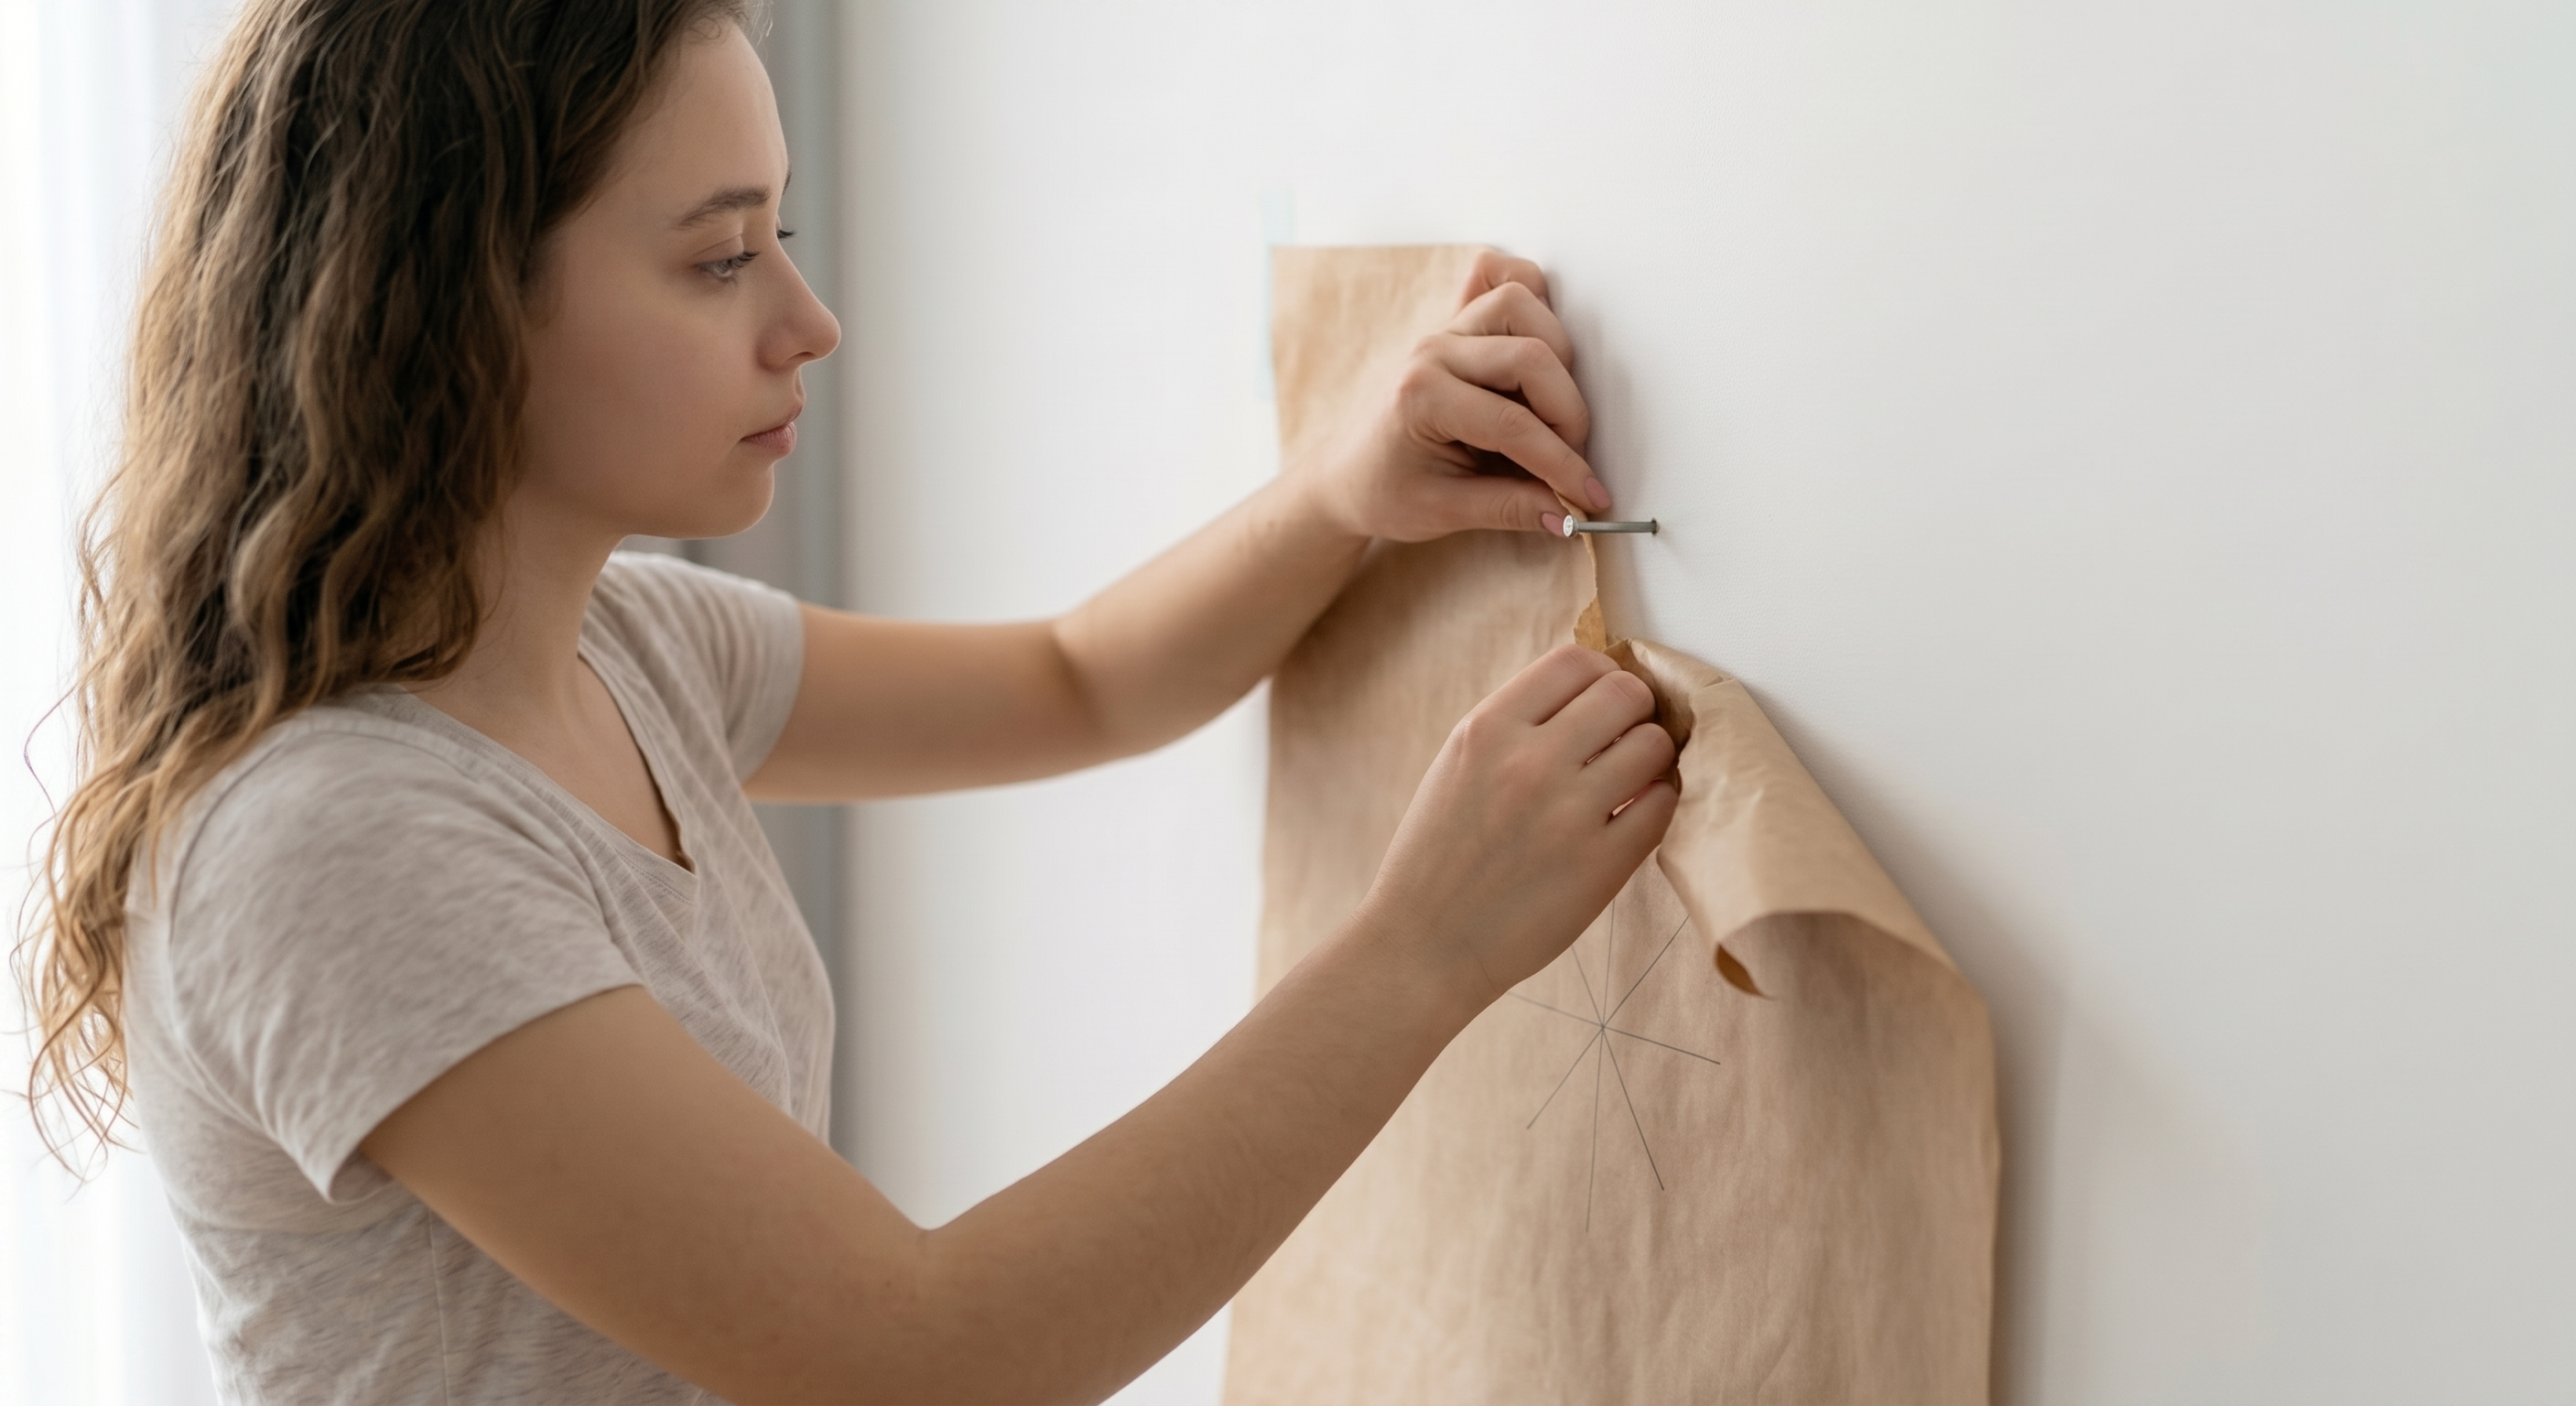
Step 6 — Remove the Paper
Gently tear or slide the paper template away from the wall. If it resists, fold it carefully around the nail rather than pulling hard. The nail stays perfectly in place at exactly the right position.
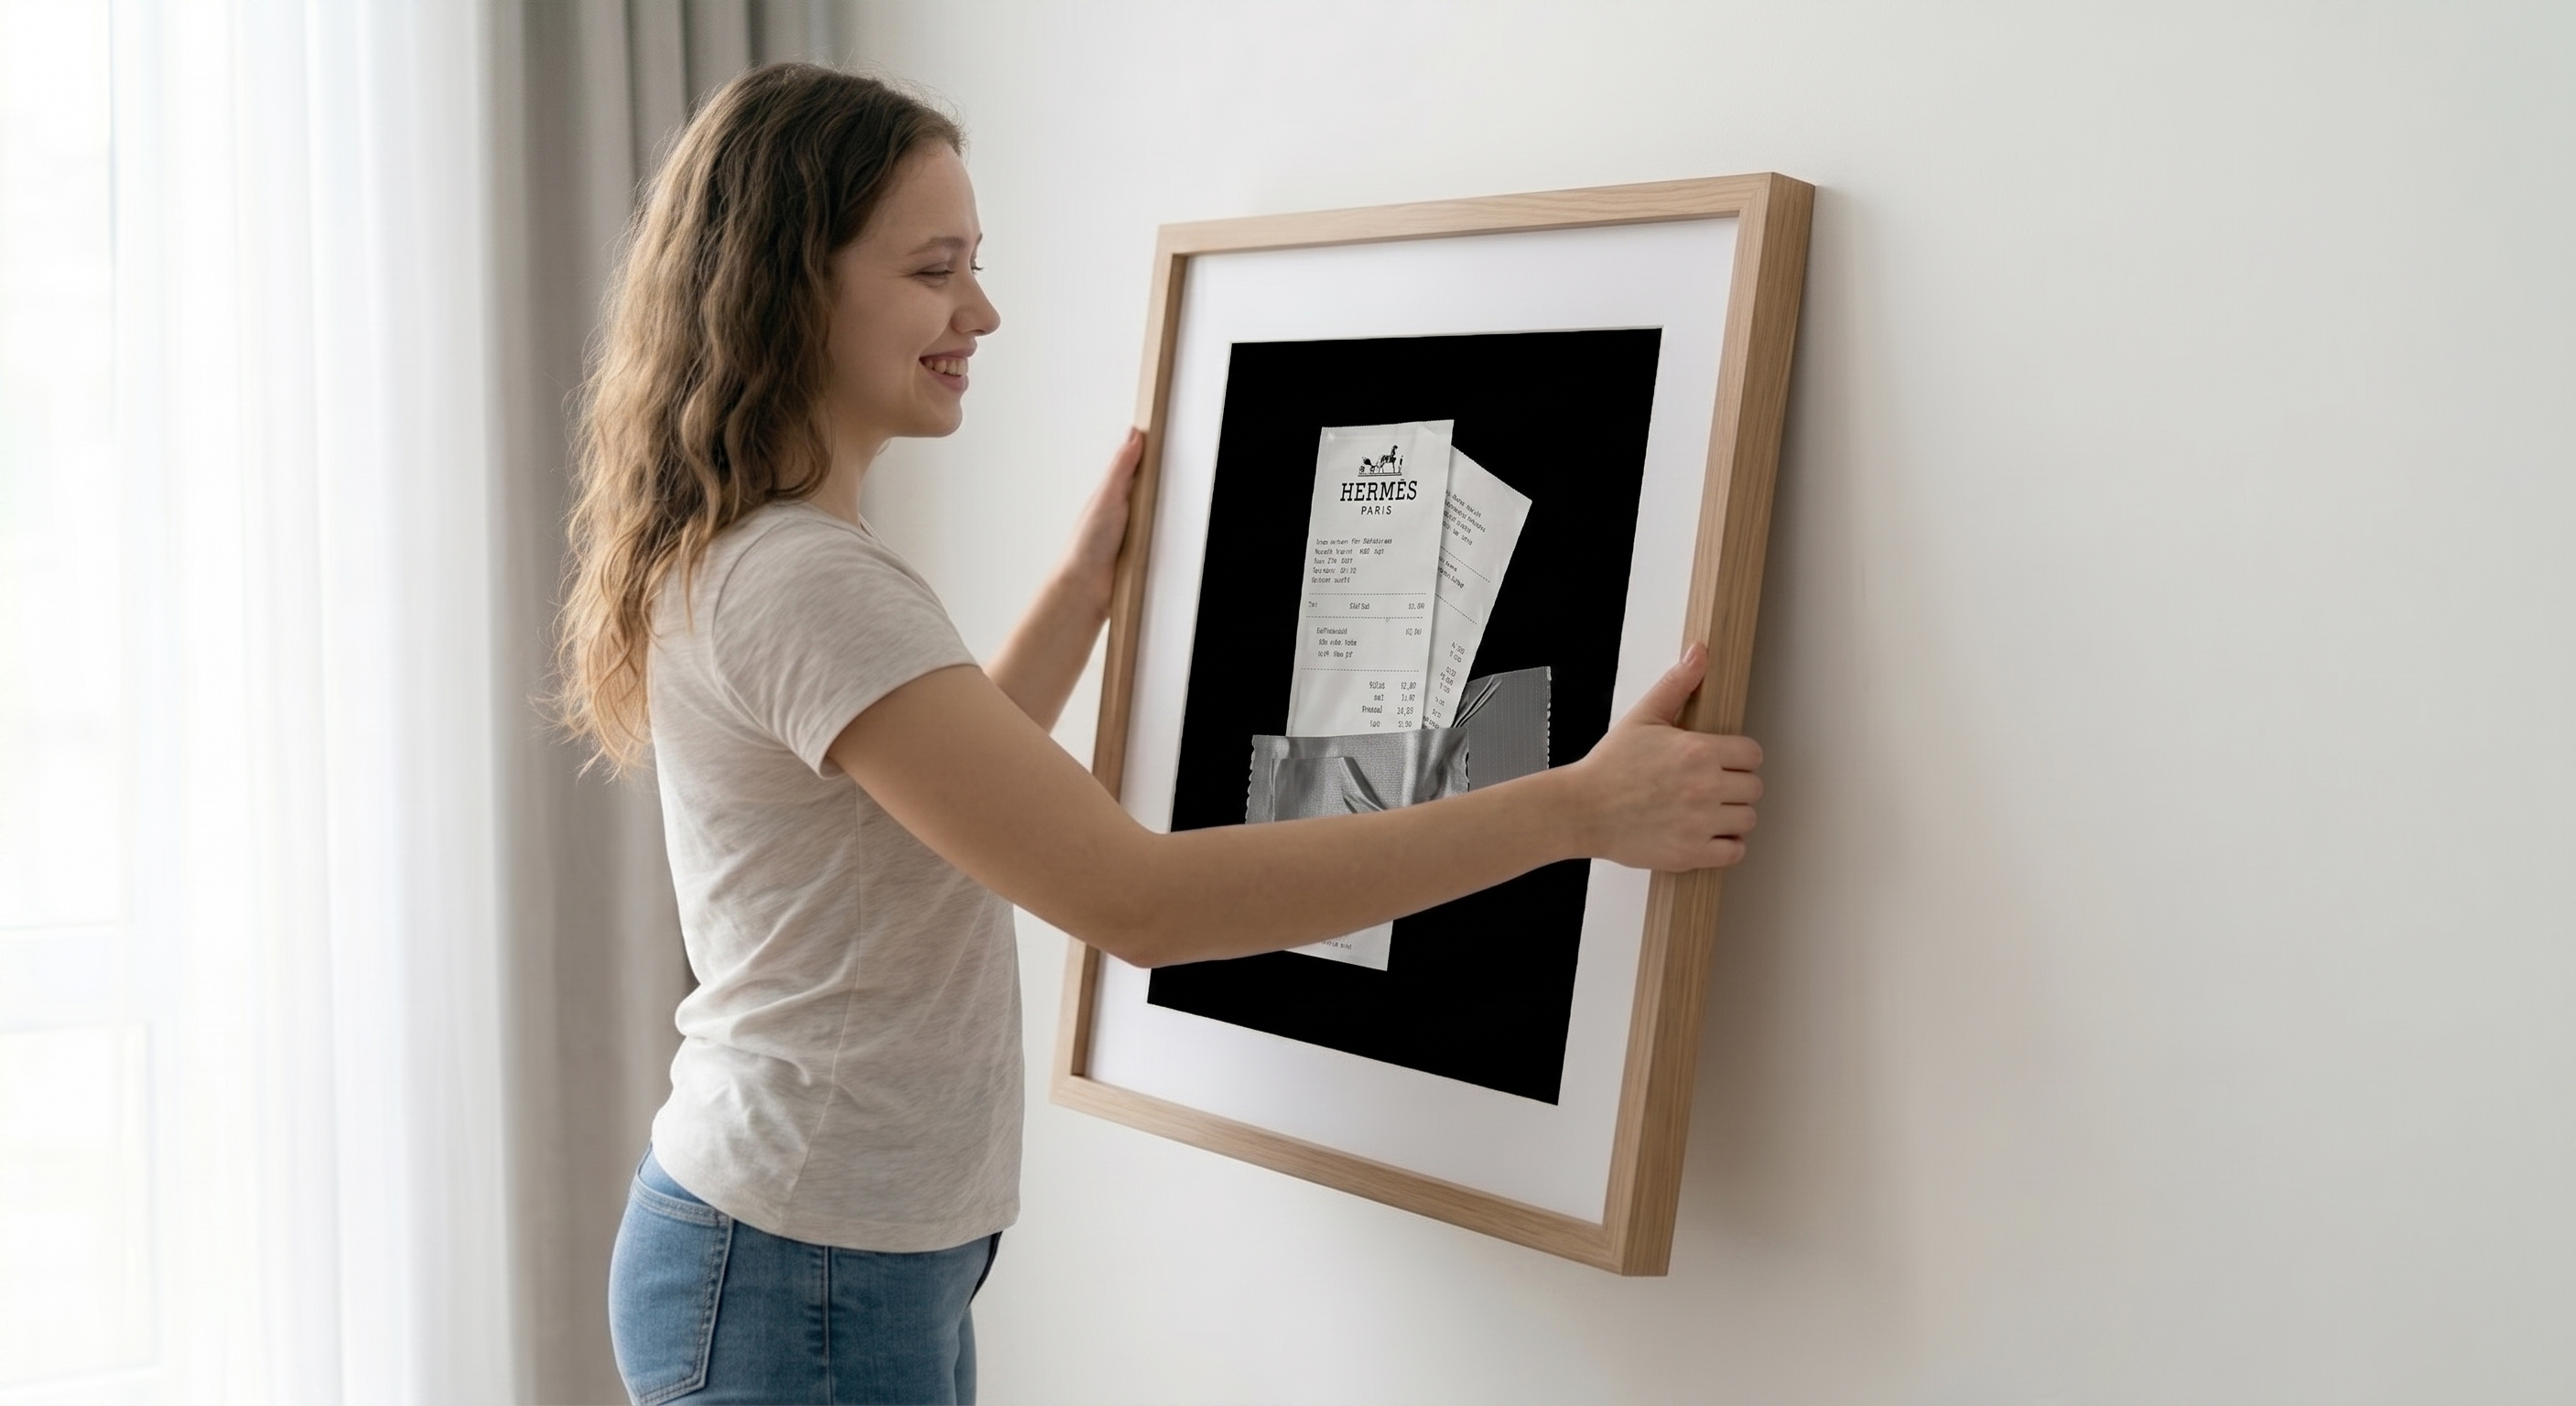
Step 7 — Hang the Frame
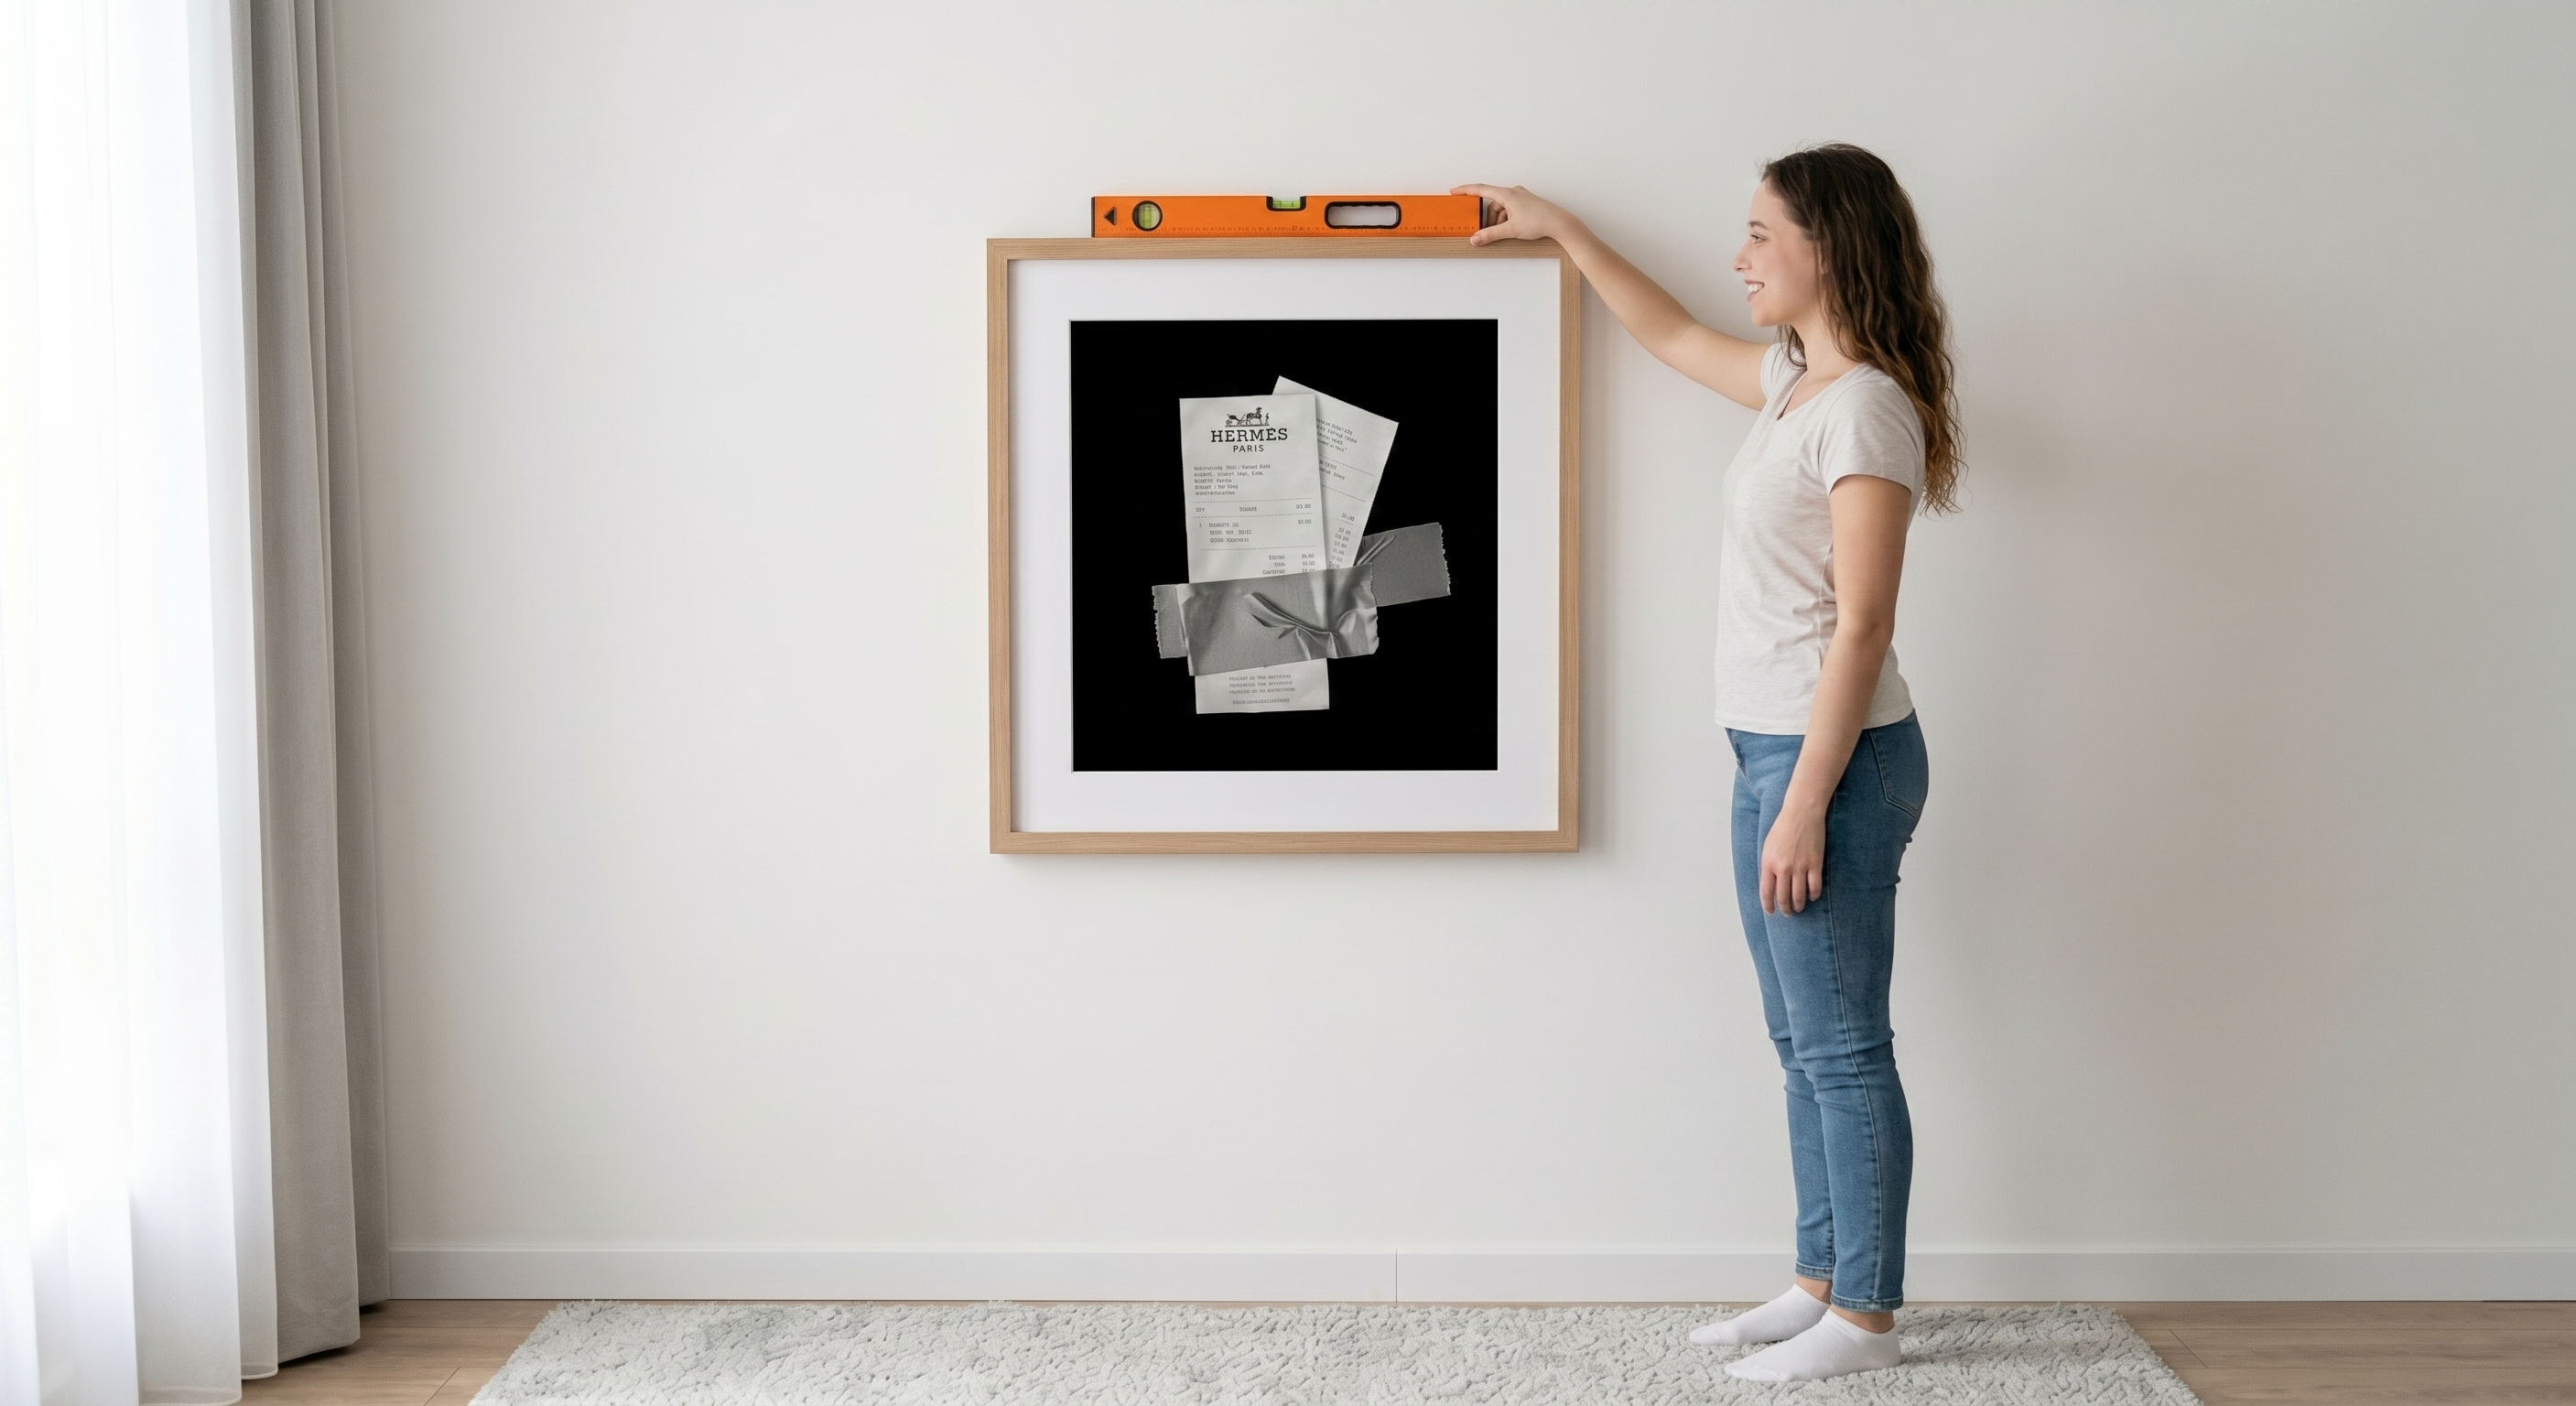
Lift your frame and hook the hanging hardware onto the nail. Adjust left or right slightly if needed, then use your spirit level one final time across the top of the frame to confirm it's perfectly straight. Step back and check the position from a distance. Make any micro-adjustments by gently nudging the frame.
Step 8 — Final Check
Press the frame gently against the wall. Ensure it sits flush with no rocking. Clean any pencil marks off the wall around the nail with a slightly damp cloth if visible.
Step 9 — Ready for Display
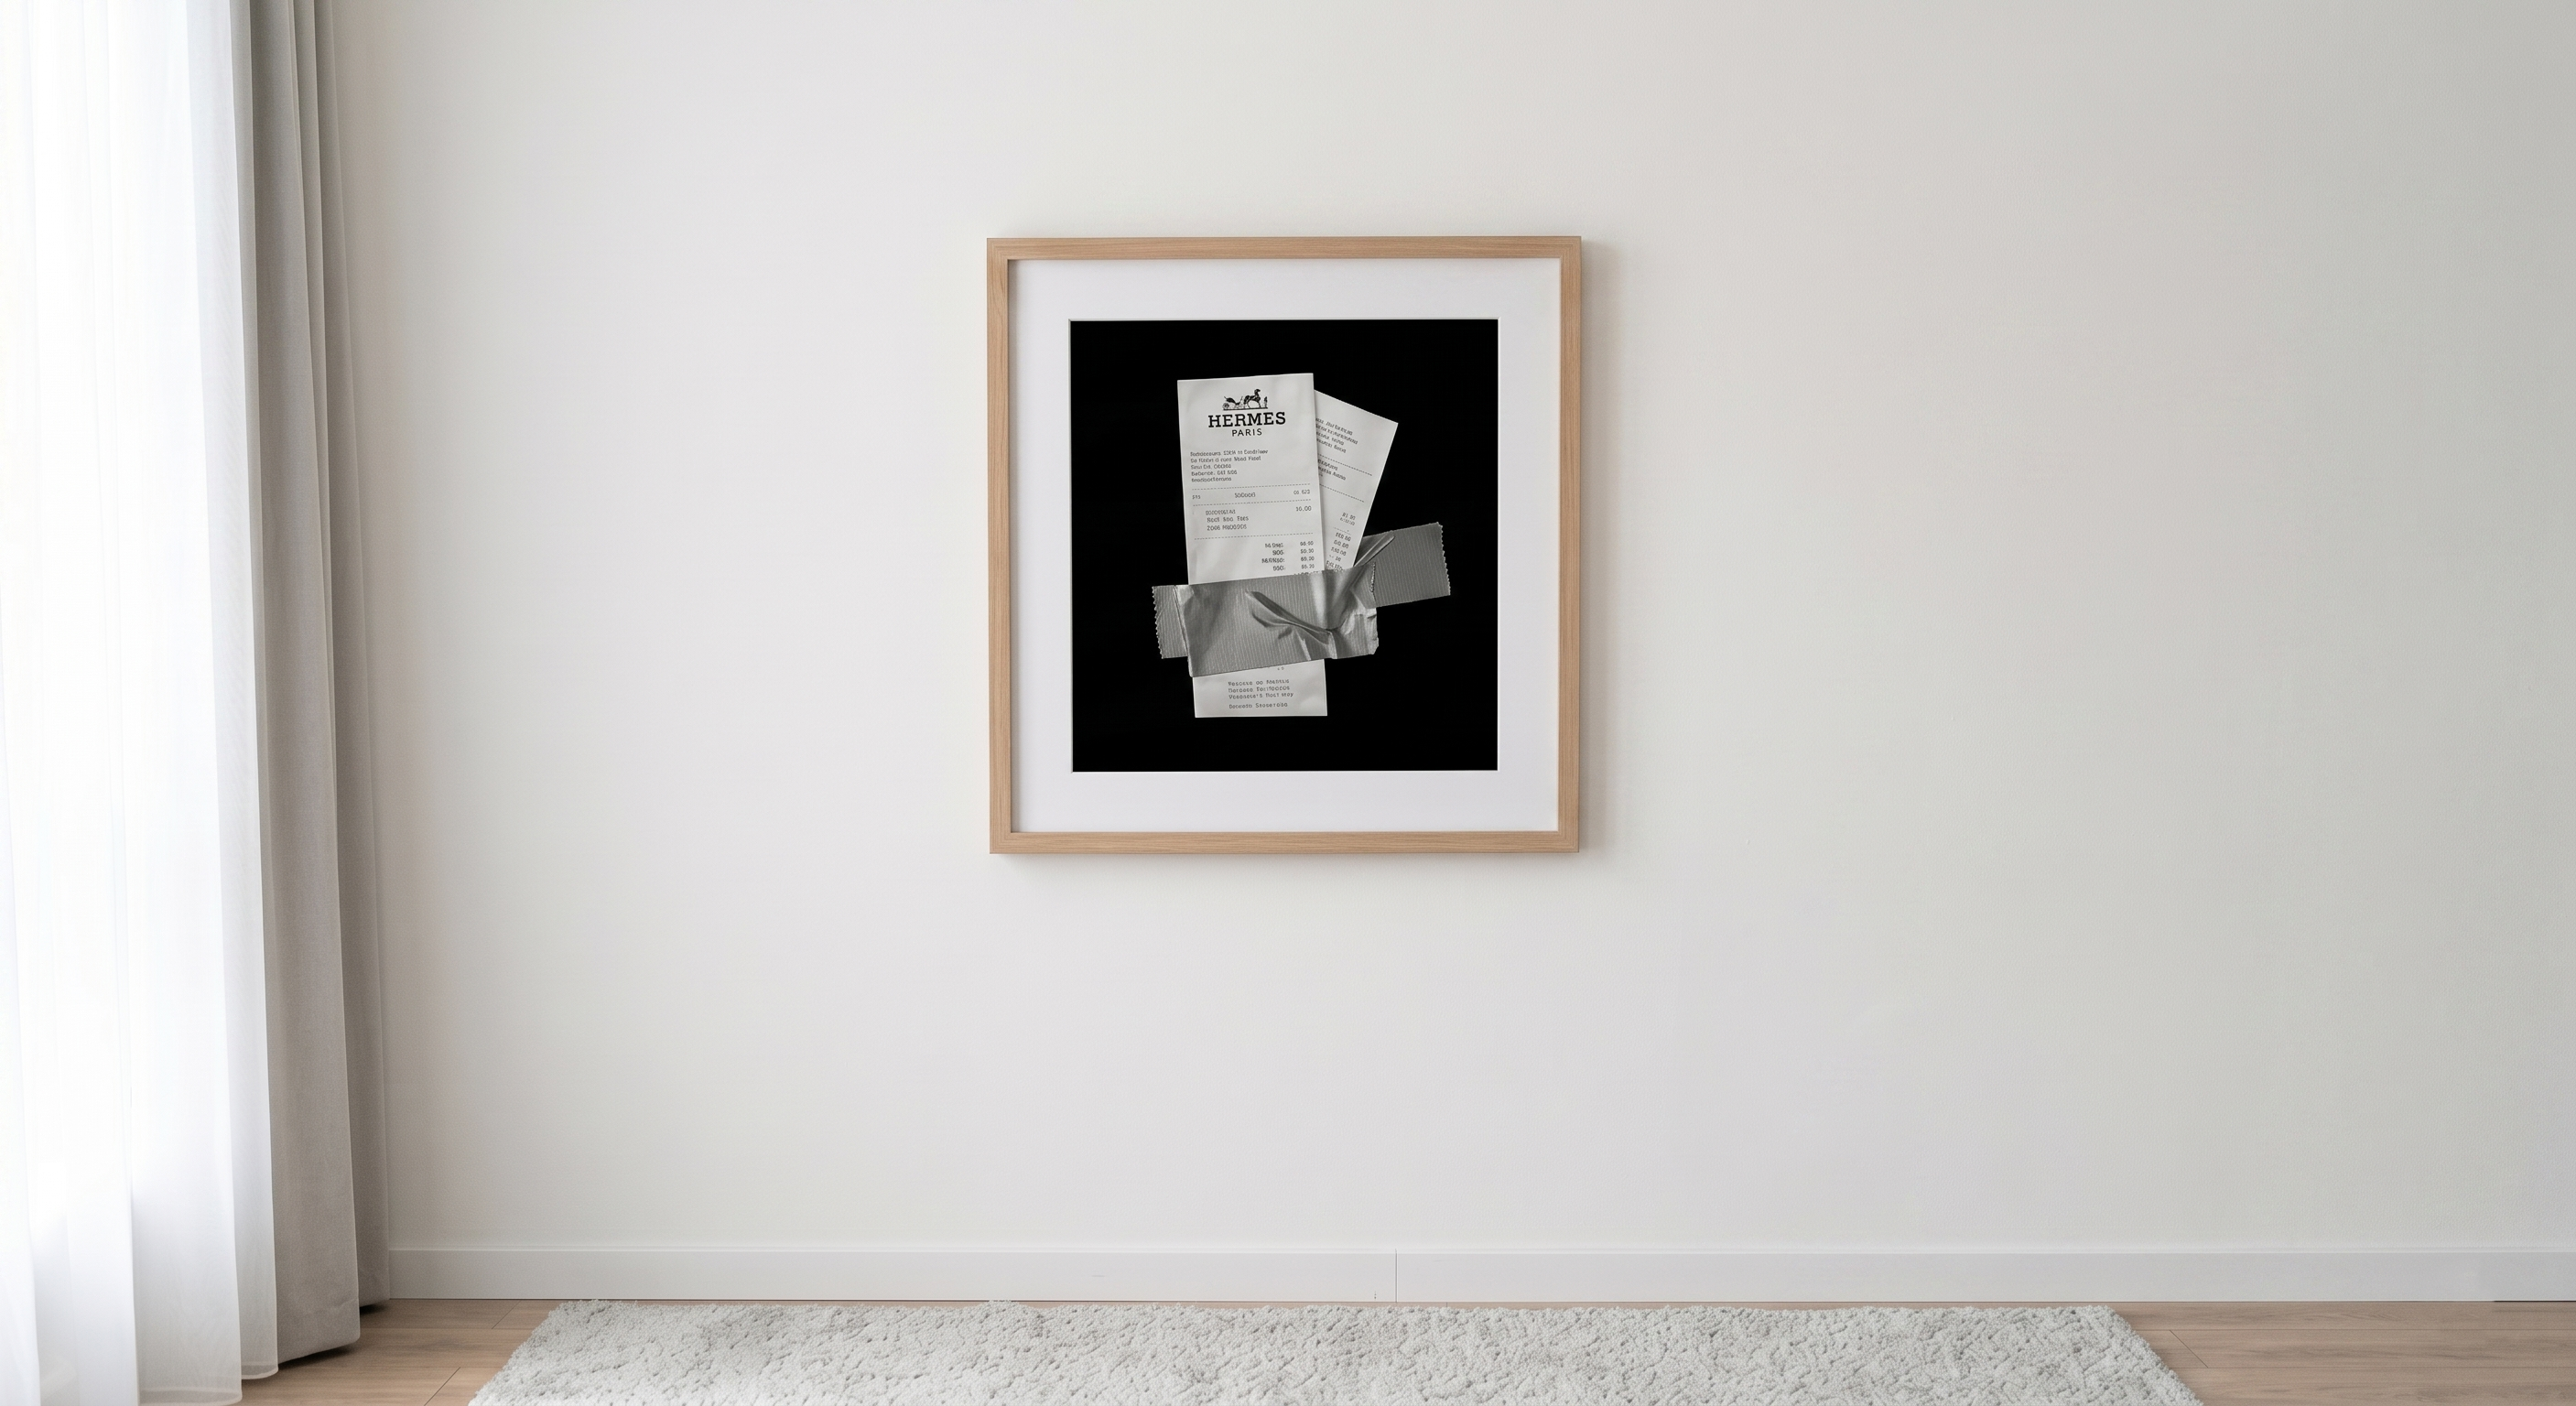
Perfectly finished